Creator workflow: recording to finished video · Lesson 1 of 1
Record Screen and Camera, Add Captions and Export a Creator Video
A VoxStudio for Mac workflow: record screen, camera and audio, transcribe, segment captions, create editable tracks, arrange the camera and export.
By VoxStudio Team, Product team · · 8 min read
Key takeaways
- Record camera, screen and audio
- Transcribe and segment subtitles
- Create a clip with editable tracks
- Arrange the camera and refine the cut
- Review and export the finished video
Record camera, screen and audio
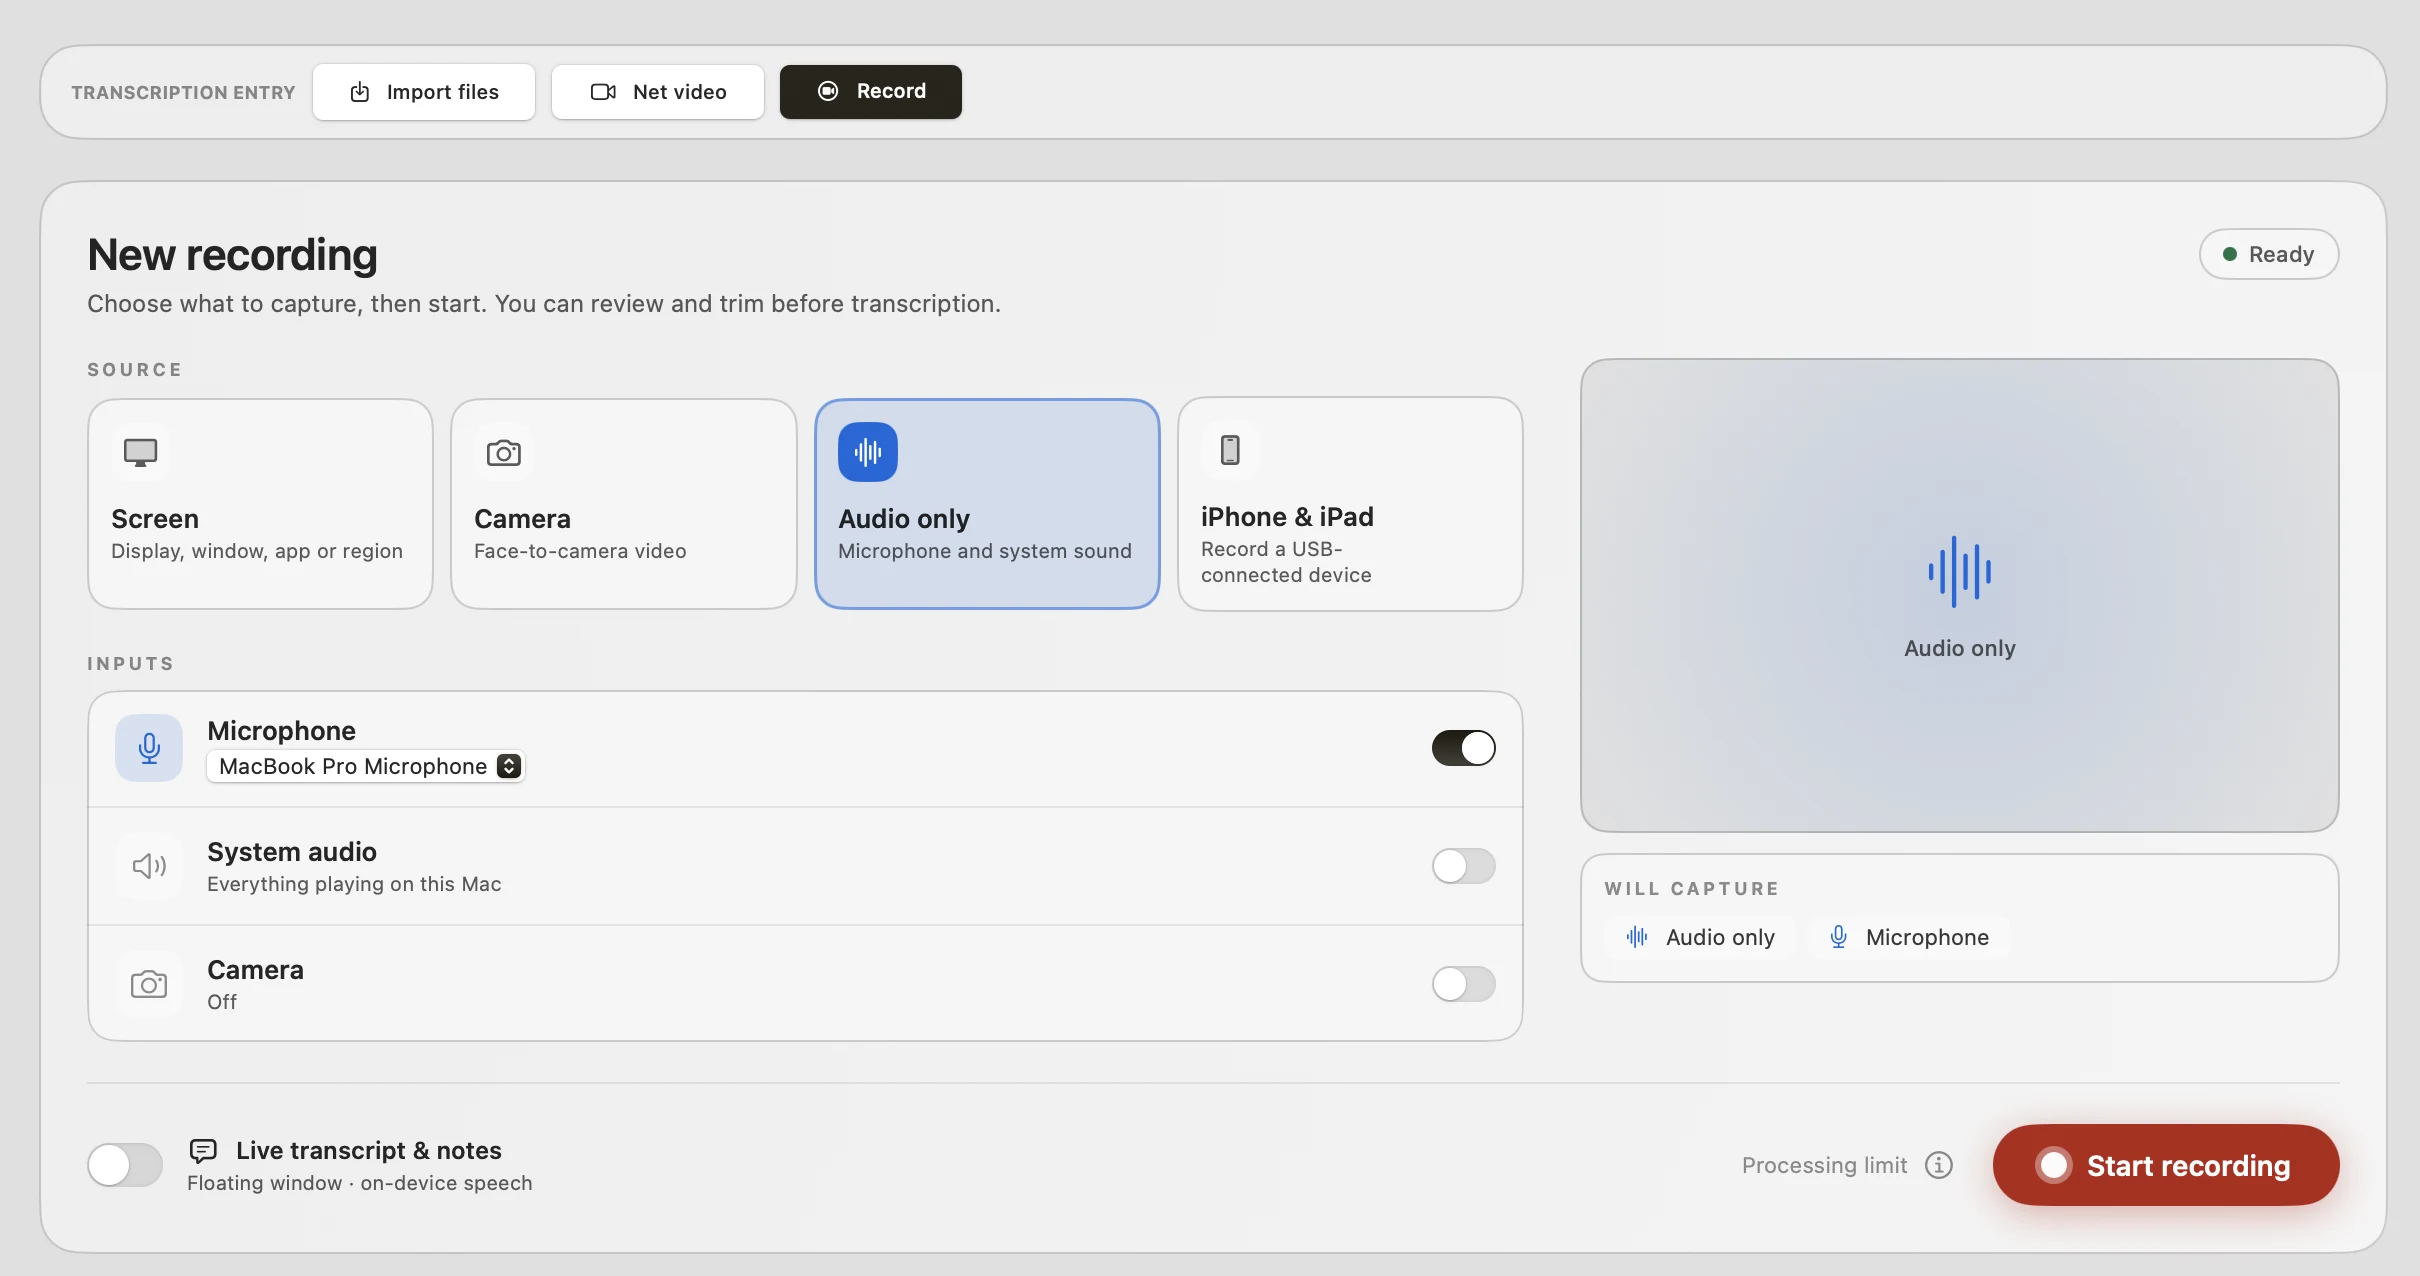
Choose the screen or window you want to teach from, enable the camera and select your microphone. Add system audio when the demonstration includes sound from the Mac. Record a short test, replay it and check that both video sources and your voice are present. Use headphones when capturing system audio to avoid recording it again through the microphone.
Transcribe and segment subtitles
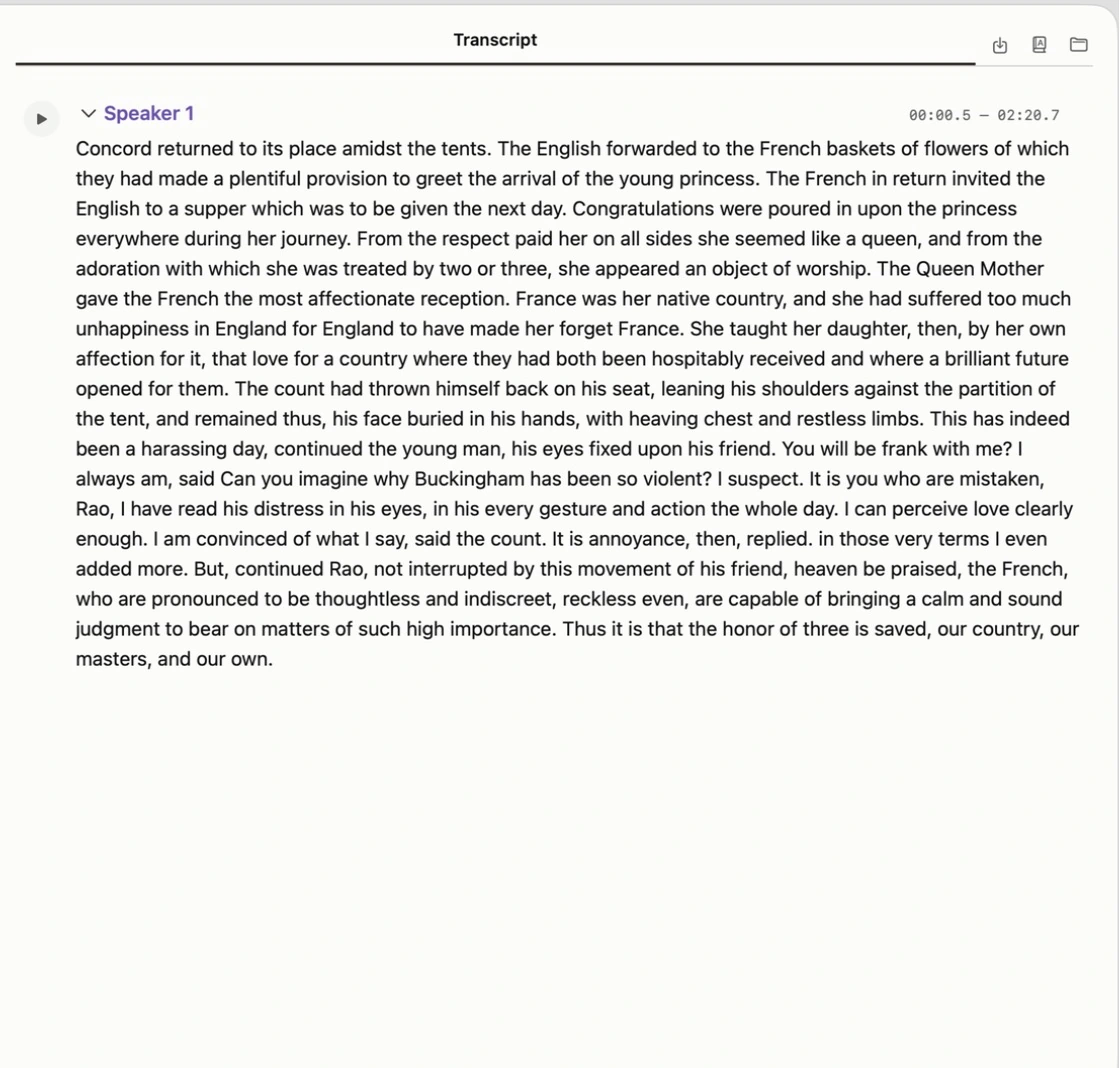
Open the recording session and transcribe the spoken language. Enable subtitle segmentation if you want shorter, readable cues. Review names, numbers and technical terms against the audio before creating a clip. Segmentation divides text into timed captions; it does not cut your camera or screen footage.
Create a clip with editable tracks
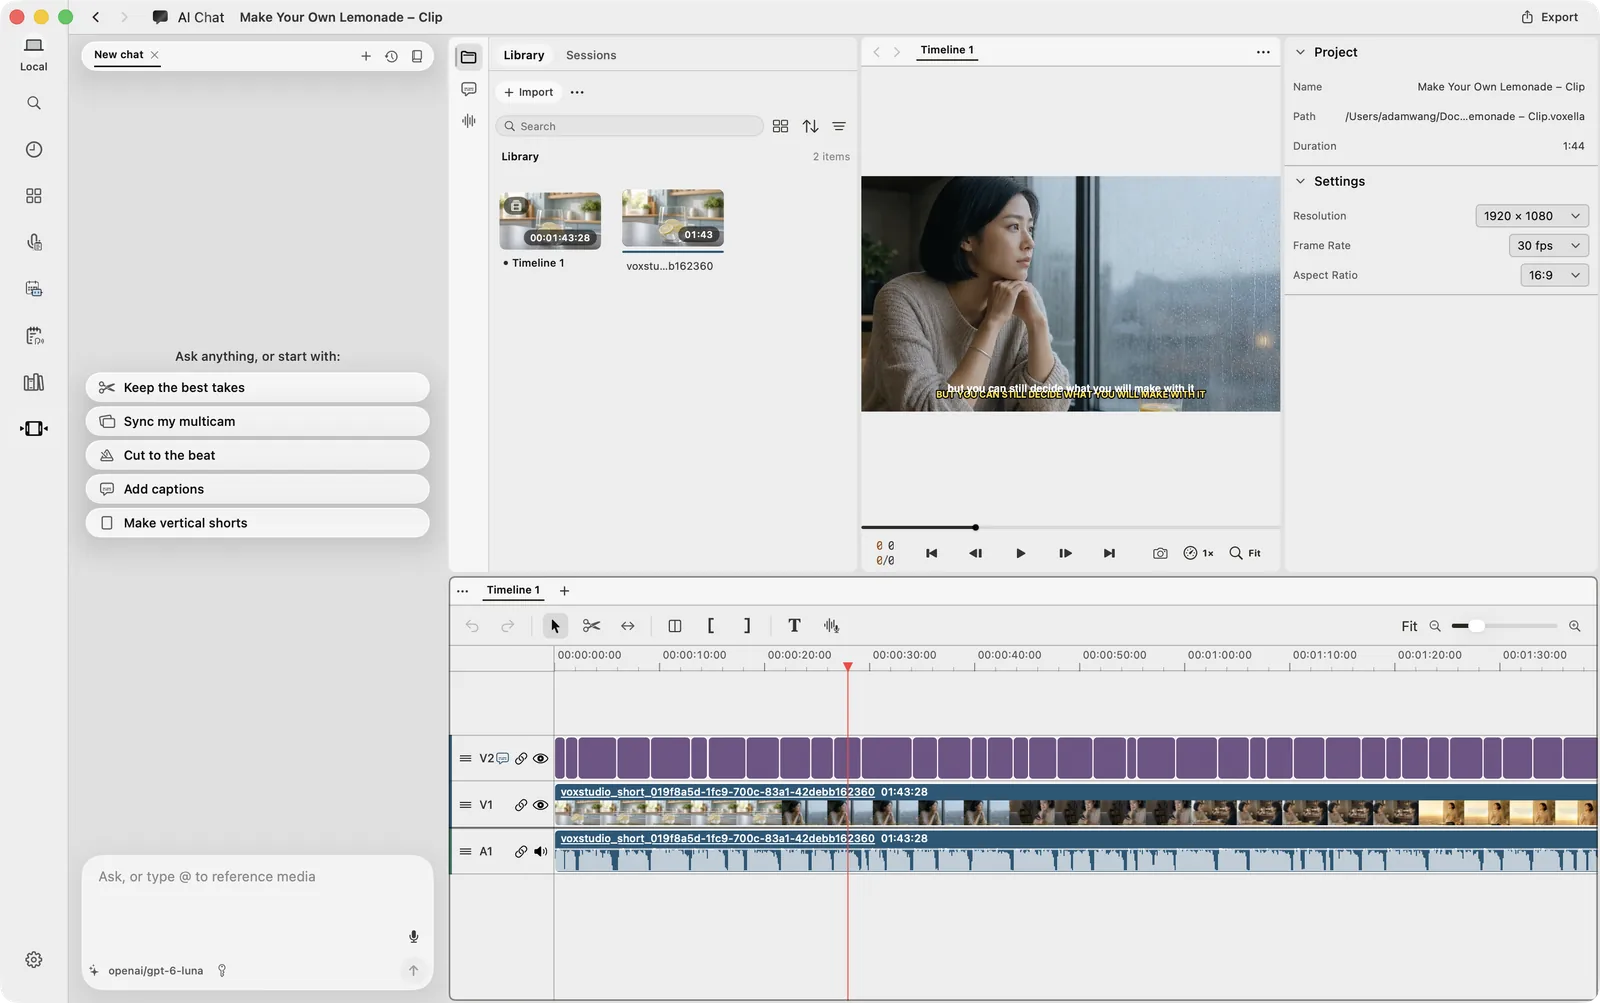
Select the passage you want and choose Create Clip. For a screen-and-camera recording, check that the editor contains separate screen and camera video tracks, audio and segmented subtitle cues. This requires a recording that actually contains both video sources; an imported flattened picture-in-picture video cannot recover separate camera footage. If you select noise reduction, compare the cleaned voice with the original before continuing. It reduces background noise, but cannot guarantee clean speech from clipping or overlapping voices.
Arrange the camera and refine the cut
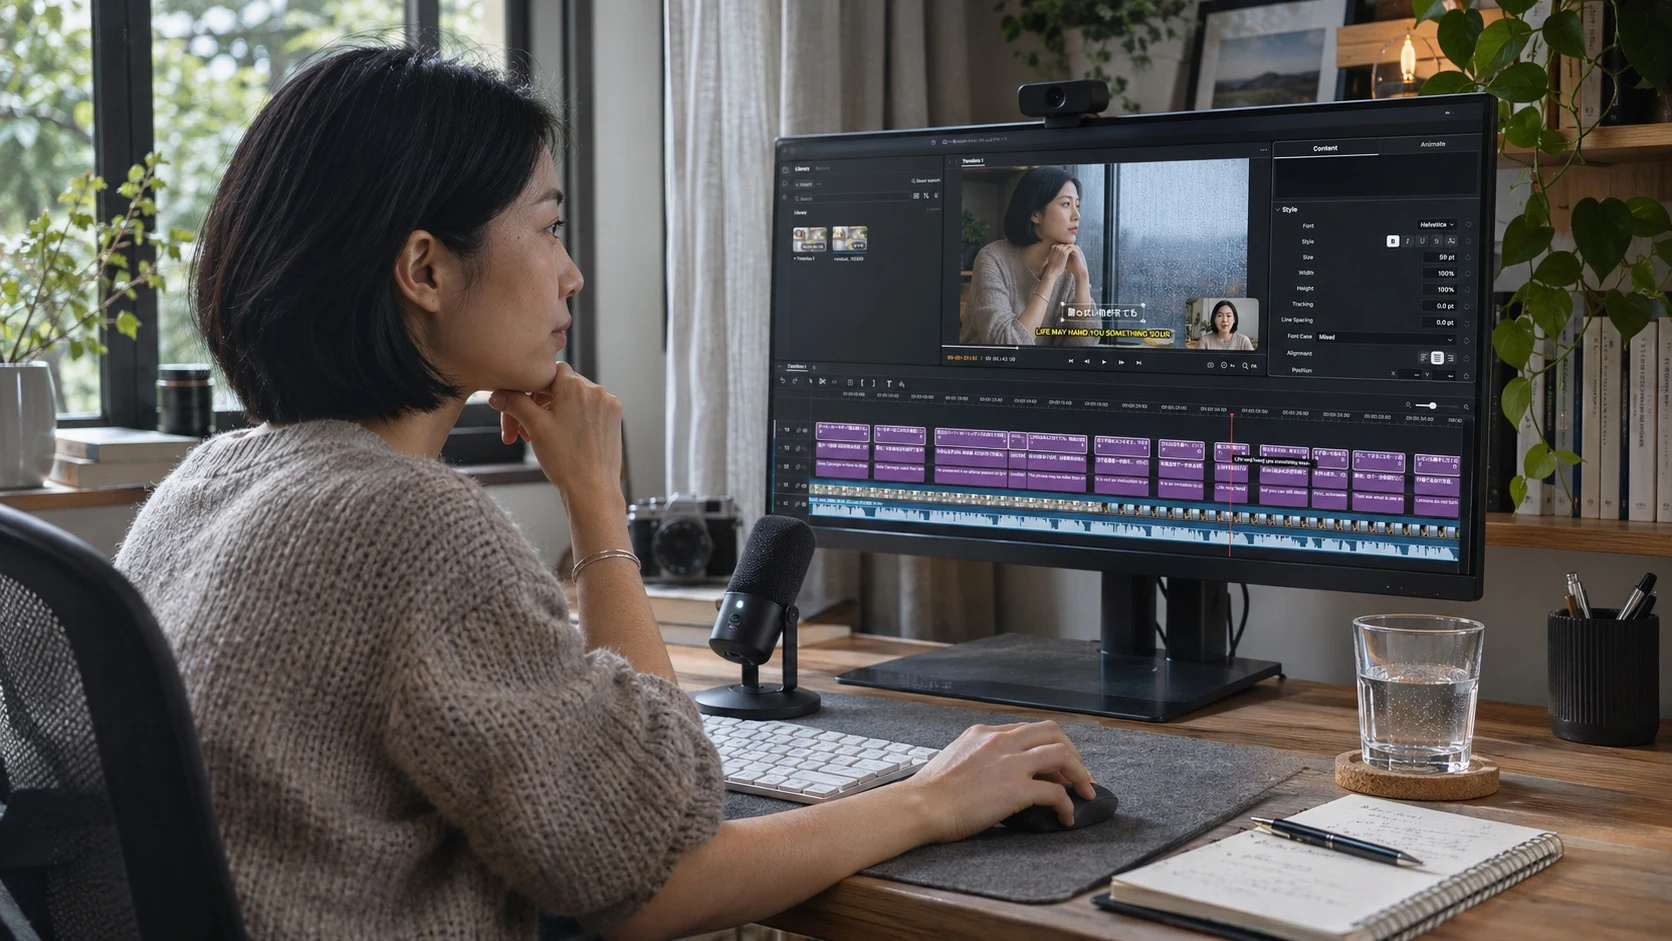
Select the camera clip and adjust its position and size so it does not hide the demonstration or captions. Refine the border and corner radius in the editor. Keep the screen as the main view. You can edit the timeline manually, ask the editor’s AI Chat, or use the local VoxStudio integration from ChatGPT or Claude when connected to the Mac editor. Cloud MCP alone is not the local timeline editor. Review the proposed edits in the preview.
Review and export the finished video
Watch the whole cut with sound. Check sync, sentence boundaries, noise reduction artifacts, caption spelling and whether the camera covers a control you are explaining. Choose the intended canvas and export settings, export the video and open the exported file to verify picture, audio and captions. For a vertical version, recheck the layout instead of assuming a landscape composition will fit.
Try this editing request
“Keep the screen as the main view. Place a smaller camera view in the upper right with rounded corners and a thin border. Preserve captions and avoid overlap. Show me the preview before exporting.” Adjust the placement to suit the actual demonstration.
FAQ
Do I need AI to edit?
No. Manual timeline editing works without an AI assistant; AI Chat and connected assistants are optional.
Why are there not two video tracks?
Check whether the original recording contains both screen and camera video. Screen-only or flattened footage does not provide an independent camera track.
Explore the Mac workflows
- Edit Video from the Transcript on Mac
Cut talking-head video on whole words, search a Mac timeline by what was said or shown, turn a long recording into short clips, and review captions before export.
Create your first tutorial
Start with a short screen-and-camera recording, then transcribe, edit and export. Download for Mac · Compare plans & trial
VoxStudio Team — We build VoxStudio. This guide records our own tests, their limits and the files needed to reproduce them.